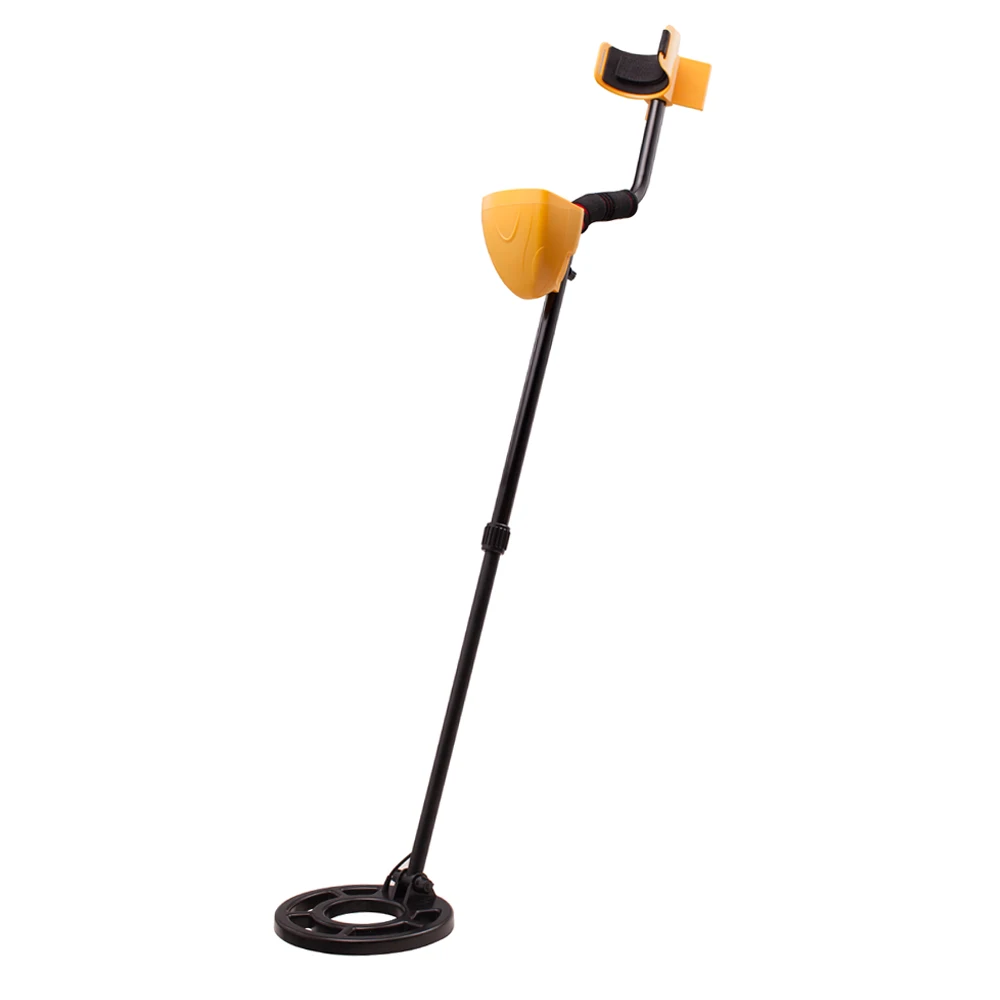
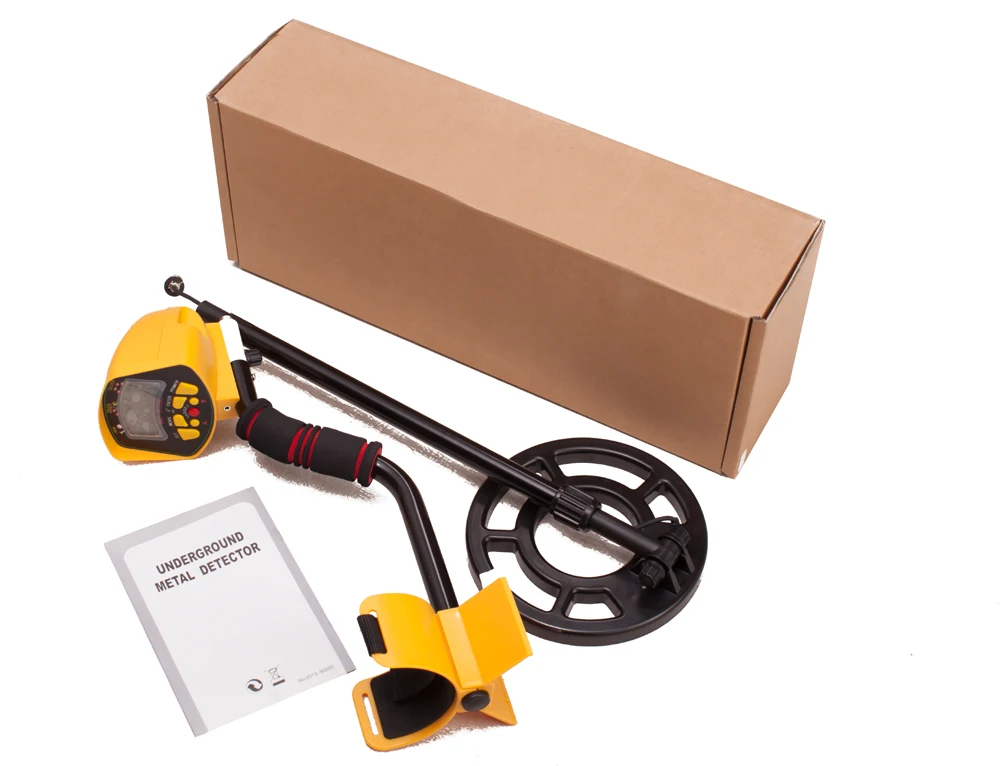
Industrial Metal Detector MD9020C with High Sensitivity Searching and LCD Display
1.Fully Automatic and All Metal Detectors – The detector detects all kinds of metal objects. Unless you have set for some objects that you don’t want to detect.
2. LCD – The LCD, it improve to identify the metal in night or caliginous outside. Use a new display mode with patented technology. Additional automatic BG color adjusting system to further insure the LED works better in function of resolution ratio during day and night. More importantly save power. The BG color can be ordered from white.
3. Display – The object responses in a more direct pointing way on the screen with three different sound frequency classifying the different kinds of metals. Position targeting: the signal on the screen will flash toward the middle when approaching the object.
4. Panel Surface Abrasion Resistance – the panel is made of a material with surface abrasion resistance that ensure the LED well works.
5. High Brightness LED Flashlight – Additional flash holder for night searching, use high brightness LED flashlight.
6. Mode – Mode 1 (factory default) is set up originally for low speed researching when you switch on, to speed up press Mode button.
This fast researching mode may reduce detection accuracy.
7. Target Identity – The detected objects are shown on the LCD display. You can decide immediately if the objects worth to be recovered.
8. Unwanted Target Elimination – You can set the detector not to respond to some objects.
9. Unique Tone for Target – You don’t have to keep watching the LCD display, when an object is being detected, an unique tone corresponding to a target will generate. You many even searching when there is little or not light.
10. No Clumsy Slack Cable – Hidden search coil cable (connecting between control unit and search coil) avoid entangling and for ease of stem length adjustment.
11. Speaker – use water-proof loudspeaker.
12. Headphone Jack – Provided for headphone connection. Both stereo and mono headphone can be used.
13. Volume Control – For adjusting the output volume to the loud speaker or headphone.
14. Batteries Condition Indicator – Shows the conditions of the batteries in the battery compartment.
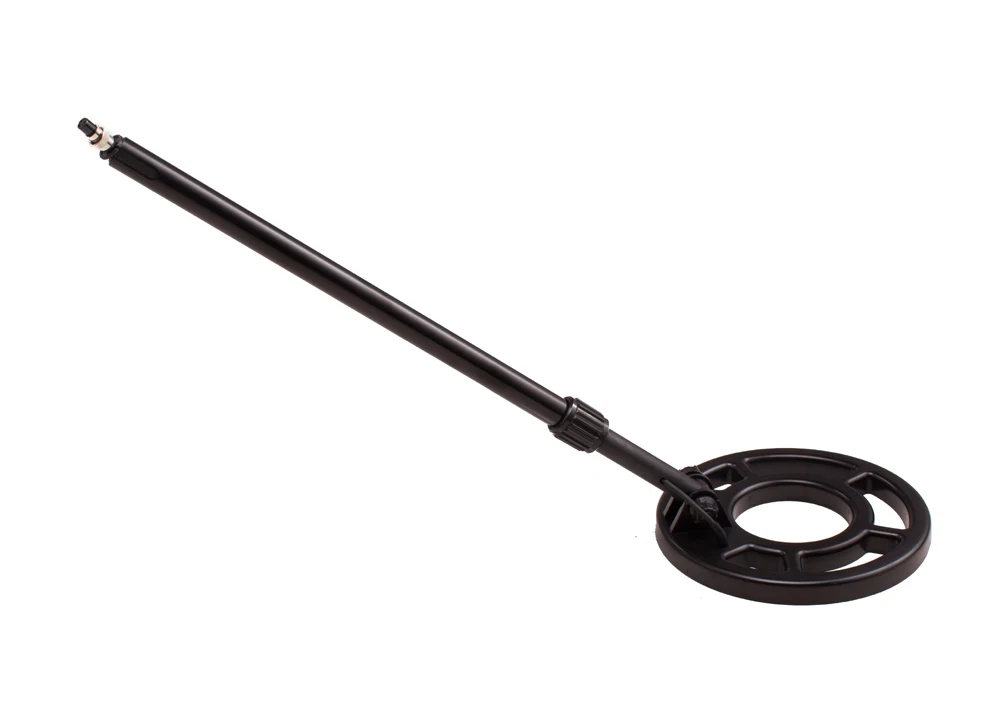
15. Adjustable Stem – Lets you adjust the detector’s length for comfortable use. The micro-plug that connects the search coil and the controller unit is made of metal which makes the plug more reliable.
16. Armrest & Stem – extra thickened handle and the red and black color brings a direct visual effects. Designed to eliminate strain on forearm. Armrest belt made of nylon to further strength the detector stay hold.
>>>Product Description
|
Power:
|
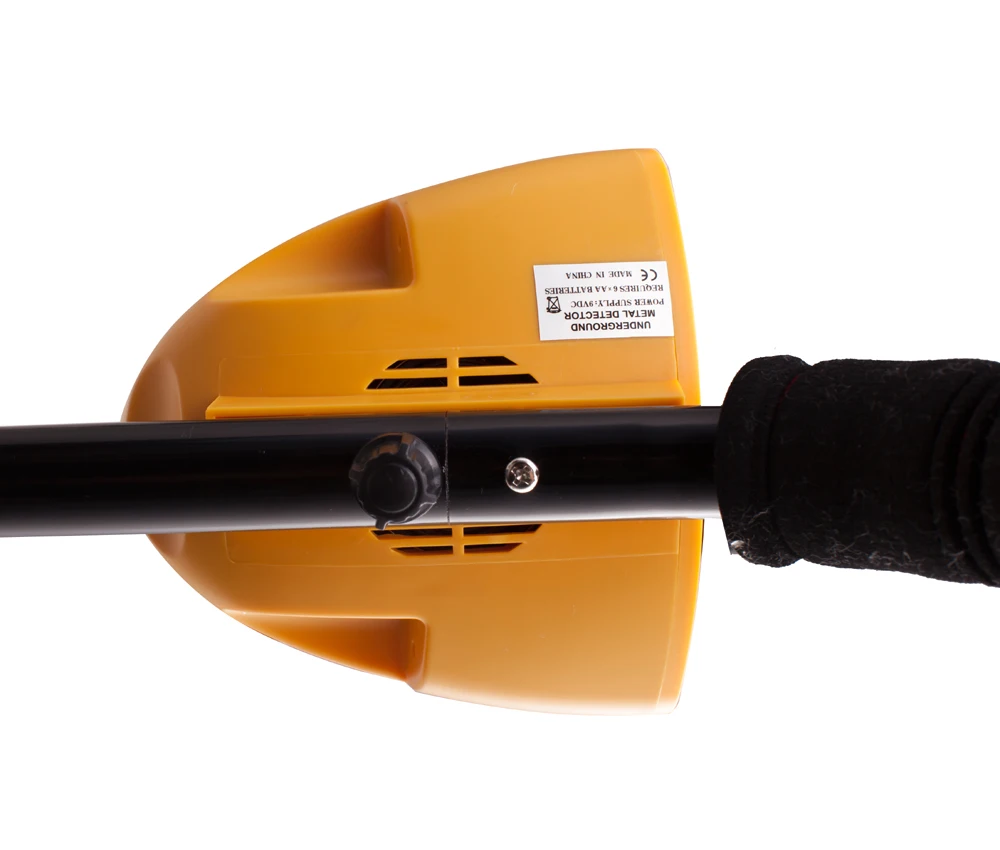
6 x 1.5V AA(Don't included)
|
|
Frequency:
|
7.5 KHz
|
|
Current:
|
Standby: 40mA Max: 110mA
|
|
Voltage:
|
7.2-9.6V
|
|
Operating Temperature:
|
-20°C to +60°C
|
|
Sensitivity:
|
US 50 Cent: 200mm
|
|
Indication Mode:
|
LCD Mode and Sound Mode
|
|
Stretch Length:
|
23-31 inches
|
|
Detector Diameter:
|
8.3 inches
|
|
Color:
|
Yellow/Black
|
|
Weight:
|
1.1kg
|
|
Size:
|
21.3(L)×13.6(W)×5.9(H) inches
|
|
Package Weight:
|
2kg
|
|
Package Size:
|
22(L) × 14.2(W) × 6.7(H) inches.
|
>>>The component
|

1.SEALING 2.ARMREST 3.ARMREST STEM 4.ADJUSTMENT 5.CONTROL PANEL 6.HANDLERY COMPARTMENT 7.CONTROLLER UNIT
8.KNOB NUT 9.MAIN ENGINE 10.UPPER STEM 11.STEMLOCK NUT 12.LOWER STEM 13.SEARCH COIL KNOBS 14.SEARCH COIL ASSEAMLY
|
|

1 Rotate the STEM LOCK NUT(11) Clockwise until loosens
|

2. Slide the UPPER STEM (12) towards the SEARCH COIL (14) as indicated by an arrow until you can see a micro-plug metal connector. Pull out the plug so that hold it on your hand.
|
|

3. Locate the micro-jack connector in the HANDLE ASSEMBLY(6). Connect the plug and the jack together and care of alignment marks showing on the surface of the jack and plug
|
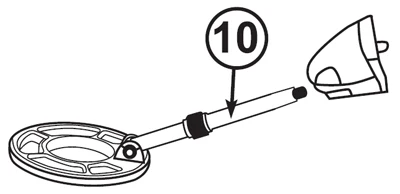
4. Slide the UPPER STEM(10 towards to the CONTROLLLER UNIT. should be takenfor the direction of the cut slot (of the upper Stem which should be pull unerneath the support of the controller unit.
|
|

5.Tighten the KNOB NUT which is located uner the CONTROLLER UNIT(7)
|
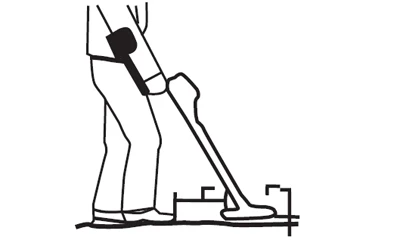
6. Adjust the LOWER STEM (12) so that wen you stand upright with the detector in you had, the SEARCH COIL (14) is level with and about 1/2 to 2 inches above the ground with your arm relaxed at your side.
|
|

7. Tightten the STEM LOCK NUT(8) in reverse direction(counterclockwise) to lock it in place.
8. Loosen the SEARCH COIL KNOBS(13) at the SEARCH COIL ASSEMBLY(14), then adjust the search coil to the desired angle. (The Search Coil should be parallel with the ground). Tighten the knobs just enough to keep the search coil from rotating or wobbling.
|
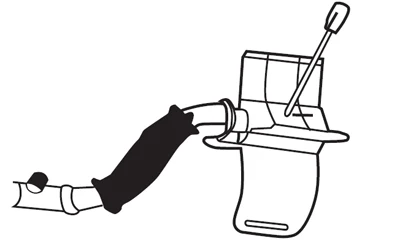
9. Loosen the 1 screws at the bottom of ARMREST. Adjust the armrest so that it should be near to the end of your forearm. Tighten the 1 screws in the reverse direction
|
|
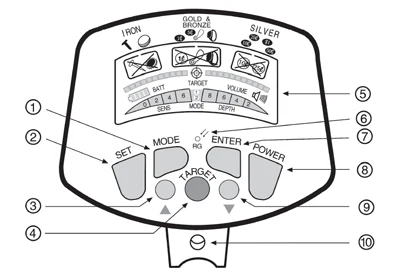
|
1. MODEL (Select to ignore a target -eliminates a gartet)
2. SET(Select a function)
3. MOVETOTHE
4. P/P(target)
5. LCD Display
6. PHOTOSENSITIVE DEVICE
7. ENTER
8. POWER ON/OFF
9. MOVETOTHE
10. PHONE
|
|
|
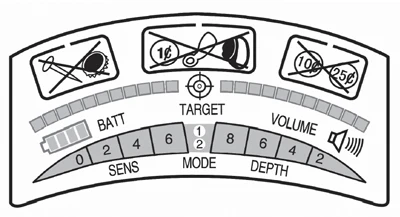
1. Sensitivity: 4 levels available for sensitivity adjustment.
2. Depth: 4 levels available for depth display.
3. Highlight a Target: A rectangular box encircling a target icon flashes when target is selected or being detected.
4. Target Eliminate Indicator: indicates the target that you don’t want to detect.
5. Target Icons: To show each icons when you choose.
6. Tone Volume: there are 4 levels of tone volume
7. Target: cooperate with the P/P button to search target.
8. Target precision: full display when approching target
9. Battery Condition Indicator
10. Mode 1(factory default)is set up originally for low speed researching when you switch on, to speed up press Mode button. this fast researching mode may reduce detection accuracy.
|


